What's Inside?
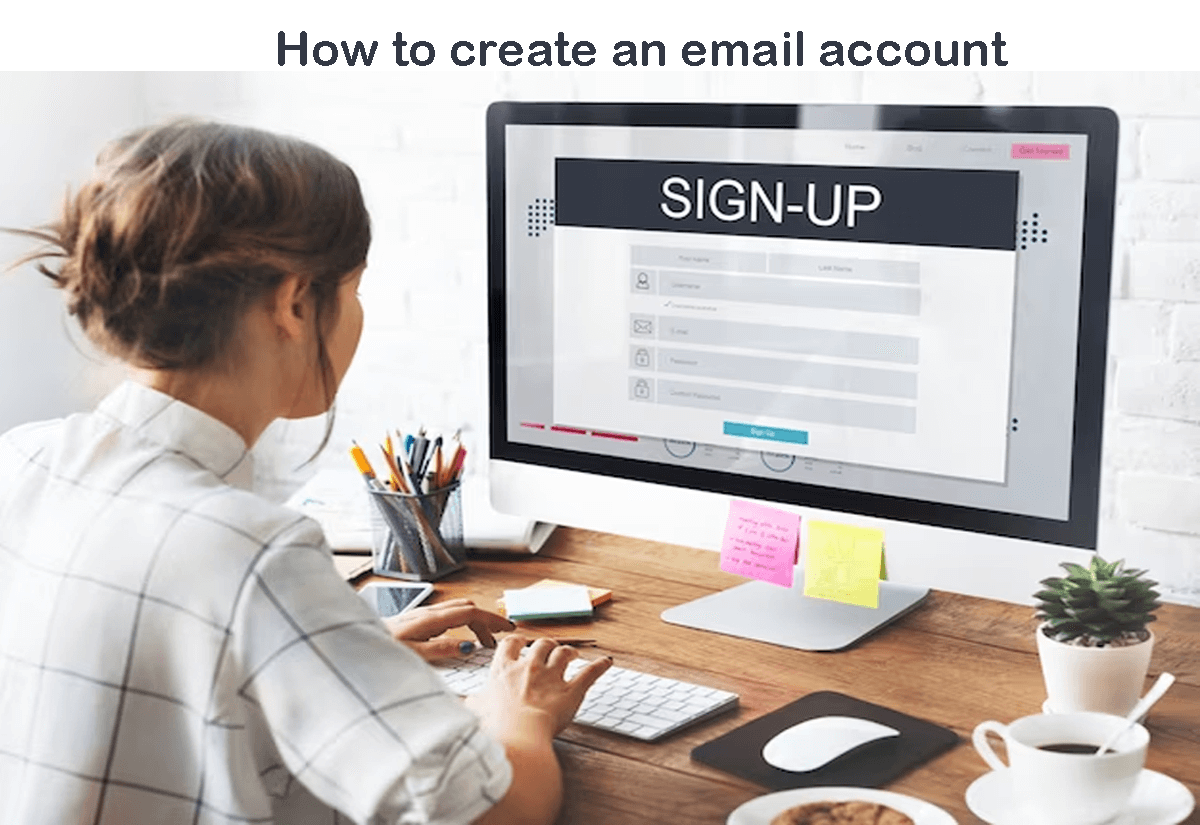
Creating an email account is a straightforward process. Here are the general steps you can follow to create an email account:
- Choose an email provider: There are many email providers to choose from, such as Google (Gmail), Microsoft (Outlook), Yahoo, and more. Consider the features and storage options offered by each provider and choose the one that best fits your needs.
- Go to the email provider’s website: Once you have chosen an email provider, go to their website.
- Click on “Create Account” or “Sign Up”: Look for a button or link on the email provider’s homepage that says “Create Account” or “Sign Up” and click on it.
- Fill out the registration form: You will be asked to provide personal information, such as your name, date of birth, and phone number, as well as choose a username and password.
- Verify your account: After filling out the registration form, you may be asked to verify your account by entering a code sent to your phone or email.
- Customize your account settings: Once your account is created, you can customize your settings, such as adding a profile picture or changing your signature.
- Start using your email account: You can now start sending and receiving emails using your new email account.
Note that the specific steps for creating an email account may vary depending on the email provider you choose, but these general steps should give you an idea of what to expect.
Can a user have more than one email address?
Yes, a user can have more than one email address. In fact, many people have multiple email addresses for different purposes. For example, someone might have a personal email address for communicating with friends and family, a work email address for work-related communications, and a separate email address for online shopping and subscriptions.
Having multiple email addresses can help users keep their inboxes organized and separate different types of messages. It can also provide an added layer of privacy and security by using different email addresses for different purposes.
Many email providers allow users to create multiple email accounts under the same login credentials, making it easy to switch between different email addresses.
Can I migrate my existing email to Google Workspace?
Yes, it is possible to migrate your existing email to Google Workspace. Google provides a migration tool that allows you to transfer your emails, contacts, and calendar events from your current email provider to Google Workspace.
The migration tool supports various email providers, including Gmail, Yahoo, and Microsoft Exchange. You can migrate your email data yourself or hire a Google Workspace partner to assist with the migration.
Before migrating your email, it’s important to ensure that your current email provider allows you to export your data. Some email providers may have limitations or fees associated with exporting data, so it’s important to check with your provider before proceeding with the migration.
Once you have your email data exported, you can follow the steps outlined in the Google Workspace migration tool to transfer your data to your new Google Workspace account.
Keep in mind that migrating email can be a complex process, and it’s important to plan and prepare carefully to avoid data loss or other issues. It may be helpful to consult with a Google Workspace partner or IT professional to ensure a smooth transition.
What is an email alias?
 An email alias is an alternative email address that can be used to receive emails without creating a new email account. Email aliases are often used by individuals or businesses to help manage email correspondence more effectively.
With an email alias, emails sent to the alias address will be automatically forwarded to the primary email account associated with the alias. This means that emails sent to the alias will appear in the same inbox as emails sent to the primary email address.
Email aliases can be useful in several ways. For example, they can be used to create different email addresses for different purposes, such as online shopping or job applications, while still keeping all emails in the same inbox. They can also be used to create alternative email addresses that are easier to remember or spell than the primary email address.
Email aliases can provide an added layer of privacy by allowing individuals or businesses to use a different email address for different purposes without revealing their primary email address.
How do I create an email alias?
The process for creating an email alias may vary depending on the email service or platform you are using. However, here are some general steps that you can follow to create an email alias:
- Log in to your email account and navigate to the settings or account management section.
- Look for an option to create a new alias or forwarding address.
- Enter the desired alias name and choose the email address(es) to which emails should be forwarded.
- Save your changes and verify the forwarding email address(es) if necessary.
- Start using your new email alias for sending and receiving emails.
If you are using a custom domain email address, you may need to configure the email alias settings in your domain’s control panel or through your email hosting provider.
It’s important to note that some email services may not offer the option to create email aliases, so be sure to check if this feature is available before getting started.
Where do I find the email source?
The steps for finding the email source may vary depending on the email client or service you are using. Here are some general steps that you can follow to view the email source:
- Open the email you want to view the source for.
- Look for an option to view the original or source of the email. This option may be located in different places depending on the email client or service you are using. In Gmail, for example, you can click on the three dots at the top right of the email and then select “Show original.”
- Once you’ve clicked on the option to view the email source, a new window or tab should open that displays the raw HTML code of the email. This code includes information such as the sender, recipient(s), subject, message body, and any attachments.
Keep in mind that viewing the email source may not always be necessary or useful, and in some cases, it may even be harmful if the email contains malicious code or links. If you’re not sure why you need to view the email source or if you suspect the email may be spam or phishing, it’s best to consult with your IT department or email service provider before proceeding.
Where can I manage my email accounts?
The steps for managing your email accounts may vary depending on the email service or client you are using. However, here are some general guidelines:
- Log in to your email service or client using your username and password.
- Look for a settings or options menu in the interface. This may be represented by a gear icon or similar symbol.
- Within the settings or options menu, look for a section related to managing email accounts. This section may be labeled “Accounts,” “Email Accounts,” “Manage Accounts,” or something similar.
- In this section, you should be able to create new email accounts, delete or remove existing email accounts, and modify account settings such as passwords and display names.
- Follow the prompts or instructions provided in the interface to manage your email accounts as needed.
If you are having trouble finding the settings or options menu or the section for managing email accounts, consult the help documentation or support resources provided by your email service or client.
Help, my email account was hacked!
 If you suspect that your email account has been hacked, it is important to act quickly to protect your personal and sensitive information. Here are some steps you can take:
- Change your password: Log in to your email account and change your password immediately. Make sure that the new password is strong and unique. Avoid using personal information or common words that can be easily guessed.
- Enable two-factor authentication: Enable two-factor authentication for your email account if it is available. This adds an extra layer of security by requiring a verification code in addition to your password to access your account.
- Check your account settings: Check your account settings for any changes that may have been made by the hacker. Make sure that your recovery email and phone number are correct, and that no forwarding rules have been set up.
- Review your emails: Check your sent folder and trash folder for any emails that you did not send. Also, review your inbox for any suspicious emails that may indicate that your account was hacked.
- Contact your email provider: If you believe that your account was hacked, contact your email provider’s support team immediately. They may be able to help you recover your account or provide additional security measures.
- Scan your device for malware: Run a virus scan on your computer or mobile device to check for any malware that may have been used to gain access to your account.
It is important to regularly change your passwords and enable two-factor authentication to keep your email account secure.
How do I change my email password?
The exact steps to change your email password depend on the email provider you are using, but the general steps are as follows:
- Log in to your email account using your current password.
- Look for an option to change your password in the settings or account management section.
- Follow the prompts to create a new, strong password. Make sure to use a mix of uppercase and lowercase letters, numbers, and symbols.
- If prompted, enter your old password and then the new password twice to confirm it.
- Save the new password and make sure to update it on all of your devices that access your email account.
It’s also important to enable two-factor authentication if your email provider offers it. This adds an extra layer of security to your account by requiring a code in addition to your password to log in.
What limitations apply to email size and sending?
The limitations on email size and sending depend on the email provider and the email service you are using. Here are some general limitations that may apply:
- Email size: Most email providers limit the size of individual emails you can send or receive, typically ranging from 10 MB to 25 MB. If you need to send larger files, you may need to use a file-sharing service or compress the file before sending it.
- Sending limits: Many email providers have daily or hourly sending limits to prevent spam. These limits can vary widely depending on the provider and the type of account you have. For example, Gmail limits free accounts to 500 emails per day, while paid accounts can send up to 2,000 emails per day.
- Recipient limits: Some email providers also limit the number of recipients you can send to in a single email or over a certain period of time. This is also to prevent spam. The limit can range from a few hundred to a few thousand recipients.
It’s important to be aware of these limitations to avoid hitting them and potentially having your account temporarily blocked or suspended.
What’s different about the paid version of Gmail?
 The paid version of Gmail, called Google Workspace, offers several additional features and benefits compared to the free version, including:
- Custom domain: With Google Workspace, you can use your own custom domain name for your email address, which looks more professional and is easier to remember.
- Increased storage: The basic plan of Google Workspace provides 30 GB of storage for Gmail and Google Drive, while higher-tier plans provide unlimited storage.
- Advanced security features: Google Workspace offers advanced security features, such as two-factor authentication, data loss prevention, and enterprise-grade encryption.
- Collaboration tools: Google Workspace includes additional collaboration tools, such as Google Meet, Google Drive, and Google Docs, which allow teams to work together more efficiently.
- Customer support: Google Workspace provides customer support via phone, email, and chat, as well as access to a knowledge base and community forums.
- No ads: The paid version of Gmail does not display ads, which can help to reduce distractions and maintain a more professional appearance.
Google Workspace offers more features and benefits compared to the free version of Gmail, making it a great option for businesses and organizations that need more advanced email and collaboration tools.
How do I set up my email account in, for example Outlook?
Here are the general steps to set up an email account in Outlook:
- Open Outlook and click on “File” in the top left corner.
- Click on “Add Account” in the Info section.
- Enter your email address and click on “Connect”.
- Choose your email account type (IMAP or POP) and enter the necessary incoming and outgoing server settings. You can usually find these settings in the email account setup instructions provided by your email provider.
- Enter your email password and click on “Connect”.
- If the email account is set up correctly, Outlook should connect to your account and start synchronizing your email messages.
The exact steps to set up an email account in Outlook may vary slightly depending on the version of Outlook you are using and the email service provider you are using. It’s always a good idea to refer to the email account setup instructions provided by your email provider.
How much storage can I get in my mailbox?
A standard email account typically offers up to 3 GB of storage. With the exception of the Email-only plan, all hosting plans provide unlimited email accounts. It is important to ensure that your total email storage usage remains within the web storage allocated in your plan.
For those on the Guru plan, the size limit of an email account is unrestricted, subject to the web storage allotted in your plan.
If you require additional storage, you can purchase 25 GB of extra email storage per account, or opt for unlimited extra storage for all accounts under your domain. This extra space will be in addition to the storage space included in your hosting plan.
There is no need to be concerned about exceeding your email storage capacity, as we will send you an email notification when your subscription is nearing renewal and your account has grown beyond 3 GB. In the meantime, your account will continue to operate normally.


